The Remote Portlet Application Deployer can be found in the Jetspeed Administrative Portlets Tabbed Menu named RPAD. You may use this portlet to deploy War files containing portlets that are not available by default. Once the the War has been deployed, you will find any new portlets by going to edit mode and the Add Portlet area.
| Field | Description |
|---|---|
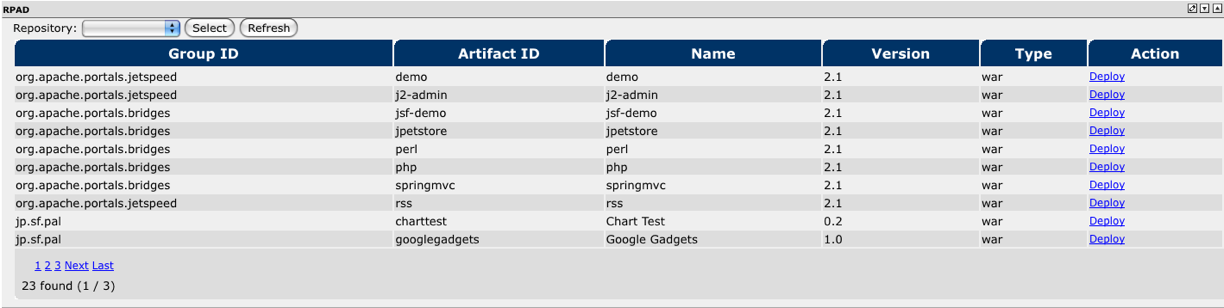
| Group ID | Name of the organization or company distributing the war file. |
| Artifact ID | The common way of naming a distributable file. |
| Name | Name of the portlet application, usually the same as the Artifact ID. |
| Version | The version of the portlet application. |
| Type | Portlet applications only, currently always distributed as war artifacts. |
| Action | Deploy the portlet application within Jetspeed. You can manage the portlet application with the PALM (Portlet Application Lifecycle Manager). |
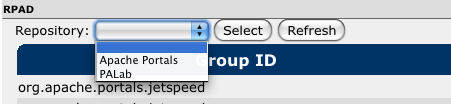
The repository drop down menu has a listing of all currently included repositories. By default, all repository items are displayed in groups of 10. Paging at the bottom of the portlet will allow you to navigate through the pages. Choosing one of the repositories in the drop down menu and clicking Select will change the display so that only items from that repository are displayed. Selecting the blank menu option will result in items from all repositories being displayed.
The Refresh button is used to redraw the contents of the window. Refreshing is needed after clicking the deploy link as the deploy action will change all deploy links to a non-clickable state. These deploy links will remain unclickable for the duration of the deployment process, regardless of pressing the Refresh Button. The deploy links will return to their normal state after the deployment process has completed and the screen is redrawn through the Refresh Button or any other action requiring the portlet to redraw the window contents.
Repositories may be managed by entering into edit mode from the portlet action bar.

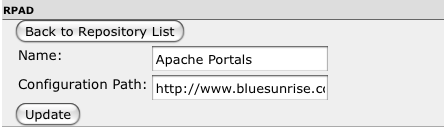
The Edit action link will allow you to change existing information such as repository name and the location of the configuration file for the repository. The window will change similar to the screenshot pictured below for Add Repository.
The Delete action link remove the repository located in the same row as the link.
The Reload Repositories button will refresh the configuration xml files for each repository.
The Add Repository button will take you to another window which will allow you to enter a name for the repository and a Configuration Path to an xml file with the Repository information.